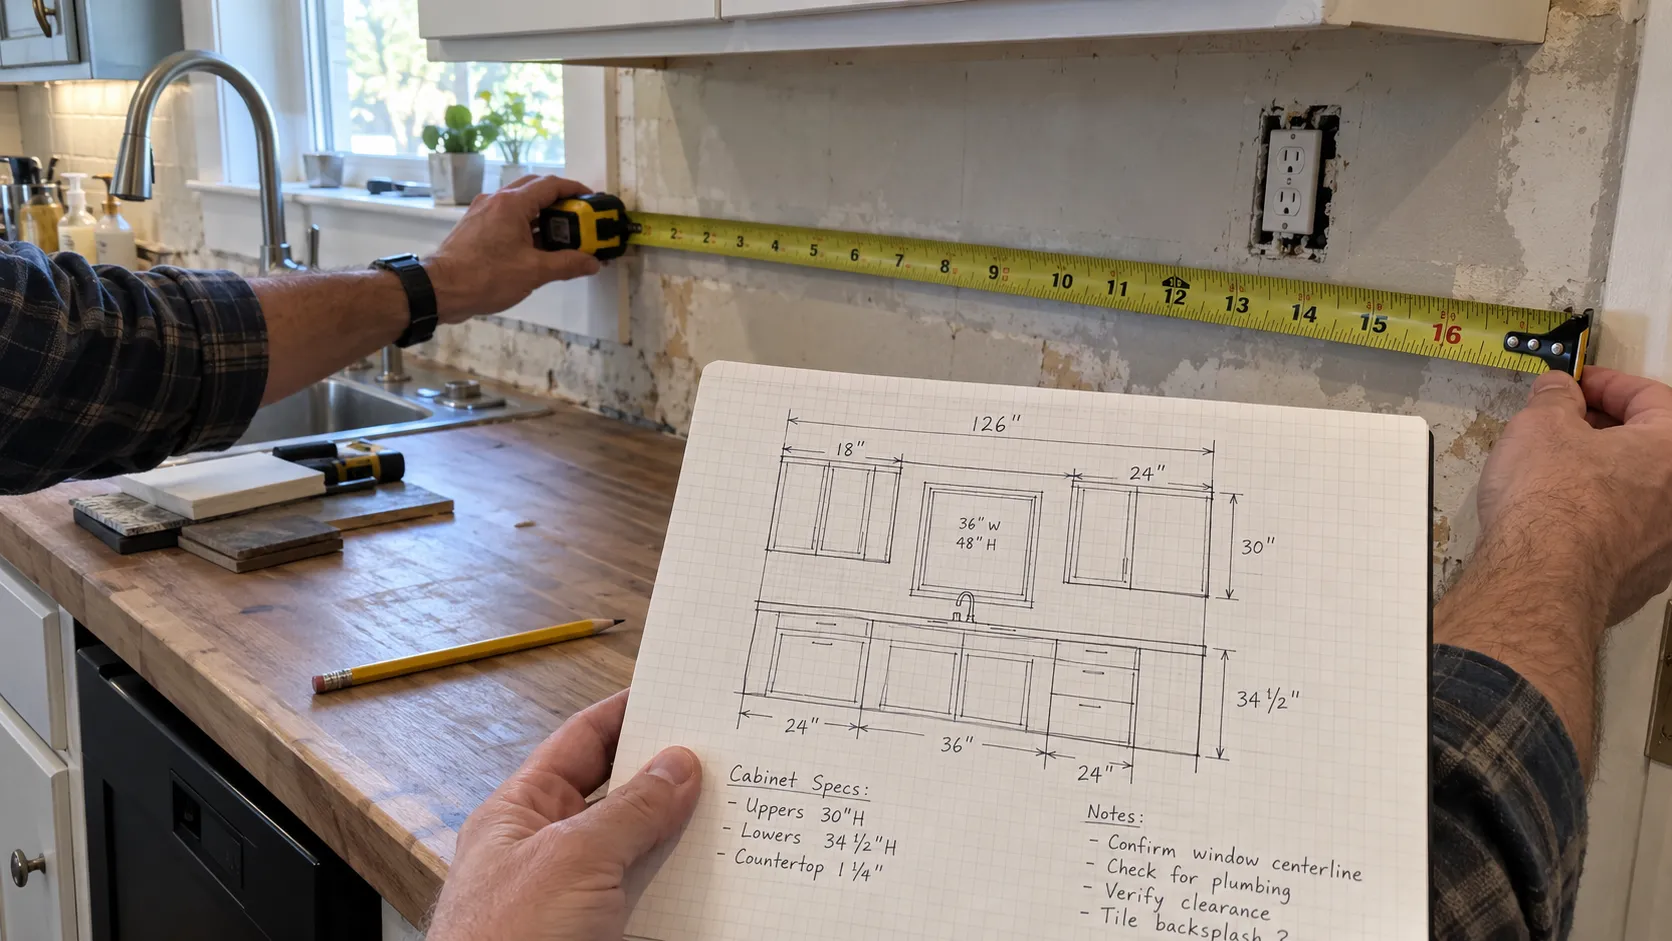
Measuring a kitchen looks like it should take ten minutes. Hook the tape at the corner, read the wall, write it down. That version produces numbers that are close enough to shop with and not close enough to build from, and the gap between those two things is where expensive surprises live.
The professional method is not harder. It is just more skeptical. It assumes the walls are not straight, the corners are not square, the floor is not level, and the ceiling is not the same height at both ends of the run, because in most houses none of those are true. This walks through that method in the order a field measure actually happens.
Quick answerMeasure every wall at three heights, at the floor, at counter height around 36 inches, and near the ceiling, and use the smallest reading. A spread over about 1/4 inch means the wall is bowed or the corner is out of plumb. Check whether the room is square by comparing the two corner-to-corner diagonals. Record everything in inches only, never feet and inches, and dimension every outlet, pipe and register from a single reference corner on each wall so errors do not compound. Appliance openings come from the manufacturer's published rough opening, never from the old appliance.
- Before you start
- Step 1: Draw the plan and number everything
- Step 2: Measure each wall at three heights
- Step 3: Find out whether the room is square
- Step 4: Ceiling height, in at least three places
- Step 5: Openings, measured outside trim to outside trim
- Step 6: Dimension everything from one corner per wall
- Step 7: Appliance openings come from spec sheets
- The floor is not level either
- What your numbers can and cannot do
- The errors that cause reorders
- Frequently asked questions
- Measure like you expect to be wrong
Before you start
Tools. A 25 foot steel tape, not a cloth or soft tape. Grid paper and a pencil with an eraser. A 4 foot level. A step stool. Your phone, for photographs of every wall.
One rule that prevents more mistakes than anything else: record every dimension in inches only. Not feet and inches. Write 94, not 7 foot 10. Mixing units mid-sketch is the single most common source of arithmetic errors in a measured drawing, and cabinet runs are specified in inches anyway.
Measure the room, not the old cabinets. If you are keeping the same layout it is worth recording the existing cabinet sizes as a cross-check, but the room dimensions are what the new cabinets have to fit into. Existing cabinets may include fillers you cannot see, and they may not have been installed correctly in the first place. If you do measure an existing cabinet, measure the box from the outside, not the door or the hardware, both of which project past the box and will inflate your number.
Step 1: Draw the plan and number everything
Sketch the room on grid paper before you measure anything. Rough proportions are fine. Then number each wall, going clockwise from one corner, and number each opening.
The numbering is not bureaucracy. Once you have fifteen dimensions on a page, unlabeled measurements become unusable within a day, and you will not remember which 94 belonged to which wall. Photograph each wall as you go and name the photos to match your wall numbers.
Mark on the sketch, approximately, every door, window, outlet, switch, register, radiator, pipe, shutoff and vent you can see. You will dimension them precisely in step 6.
Step 2: Measure each wall at three heights
This is the step that separates a usable measure from a decorative one.
Measure every wall three times: once near the floor, once at counter height around 36 inches, and once near the ceiling. Record all three.
Then use the smallest number. Cabinets have to fit the tightest point on the wall, not the average and not the most generous reading.
If the spread between your three readings is more than about 1/4 inch, the wall is bowed or the corner is out of plumb, and that is information you need rather than an error to average away. It tells the cabinet designer to allow scribe room, and it tells the installer what they are walking into.
While you have the level out, check the walls for plumb with the 4 foot level at a few points along each run. Note anywhere it is visibly off.
Step 3: Find out whether the room is square
Almost no kitchen is perfectly square, and knowing how far off it is changes how the cabinets get specified.
The diagonal check. Measure corner to corner, both ways. In a rectangular room, if the two diagonals are equal the room is square. If they differ, it is not, and the difference tells you roughly how much.
The 3-4-5 check at a corner. Measure 3 feet out along one wall and mark it. Measure 4 feet along the adjacent wall and mark that. Now measure between the two marks. In a true 90 degree corner that diagonal reads exactly 5 feet. Longer means the corner opens past 90 degrees, shorter means it closes inside 90.
Out of square is not a problem to be fixed. It is a condition to be designed around, with filler strips and scribe allowance absorbing the irregularity. What causes problems is not knowing about it.
Step 4: Ceiling height, in at least three places
Measure floor to ceiling at three or more points, including both ends of every cabinet run.
The shortest reading is the one that governs, because it sets what will fit for tall cabinets, for uppers taken to the ceiling, and for crown moulding. A run of cabinets specified to a ceiling height taken at the high end of the room will not go in at the low end.
Note whether the floor is changing. If new tile or thicker flooring is going down, your floor to ceiling dimension is going to shrink by the build-up, and that has to be accounted for before tall cabinets are ordered.
If there is a soffit or a dropped ceiling above the existing cabinets, record both its height and its depth, and note whether anything runs inside it. Soffits frequently contain ductwork, plumbing or wiring, which determines whether removing one is a trim decision or a mechanical project.
Step 5: Openings, measured outside trim to outside trim
For every door and window, measure from the outside edge of the trim to the outside edge of the trim on the other side, including the casing. Cabinets and countertops have to clear the trim, not the rough opening, so the trim dimension is the one that constrains the layout.
Then measure from each corner of the room to the near edge of the casing, so the opening is positioned on the wall rather than just sized.
For windows, also record three vertical dimensions: floor to sill, sill to the top of the window, and the top of the window to the ceiling. Those three decide whether an upper cabinet can run past the window, whether a sink under the window has clearance for the faucet, and whether a window treatment will collide with anything.
Step 6: Dimension everything from one corner per wall
Here is the discipline that separates a professional take-off from a homeowner sketch.
Every obstruction on a wall gets dimensioned from the same reference corner on that wall. Not from the previous item. If you measure each thing from the last thing, every small error compounds along the run, and by the fourth item you can be an inch out. Measuring everything from a single origin keeps each error independent.
Record, for each wall:
- Electrical. Every outlet, every switch, and any dedicated appliance circuit. Horizontal distance from the corner and height from the floor.
- Plumbing. Supply stub-outs and the drain, with both the offset from the corner and the height. The drain matters most. A drain sitting outside the footprint of the new sink base means re-plumbing, and it is one of the most common late discoveries.
- HVAC. Supply registers, returns, and any toe-kick register. A floor or base-level heat register that has to stay accessible can veto a cabinet position entirely.
- Gas. Stub location and height, if there is one.
- Anything immovable. Radiators, pipe chases, a meter panel, a structural post.
Photograph each of these with a tape in the frame. A photograph with a dimension visible in it has resolved more disputes than any note.
Step 7: Appliance openings come from spec sheets
Do not measure the old appliance and use that number.
Appliance openings are built to the manufacturer's published rough opening for the specific model going in, and that is not the same as the appliance's nominal width. A 30 inch wall oven from one brand does not share a rough opening with a 30 inch oven from another. Cooktop cutouts are precise rectangles. Refrigerators need a specified cutout width, height and depth plus clearance for the door swing.
So the sequence is: choose the actual models, collect their specification sheets, and give those to whoever is drawing the cabinets. We go into why that ordering matters, and what else it affects, in our guide to modern kitchen appliances worth adding during a remodel.
While you are at it, note the clearance each appliance needs in use rather than just installed: a refrigerator door swing, a dishwasher door dropping into the aisle, the landing space beside a range.
The floor is not level either
One more reading that gets skipped.
Set the level on the floor at several points along each cabinet wall and find the high point. Mark it. Base cabinets get shimmed up to the high point of the floor so the whole run finishes level, which means the high point determines the finished counter height and how much shimming the rest of the run needs.
If the floor falls off significantly across a run, that is worth knowing before the countertop is templated, because the counter will be level even when the floor under it is not, and the toe kick gap will visibly vary.
What your numbers can and cannot do
This is the part most measuring guides leave out, and leaving it out costs people money.
What a careful homeowner measure is genuinely good for: planning a layout, testing whether a configuration fits, getting a meaningful budget, having a real conversation with a designer, and catching a dealbreaker early such as a drain in the wrong place or a run that simply will not take the island you wanted.
What it is not for: releasing a cabinet order. The order gets released off a professional field measure taken after demolition, because framing regularly turns out to differ from what the drywall suggested. Walls come out thicker or thinner than expected, a corner that read as square turns out to be built out of square behind the finish, and an unexpected chase appears. Any article implying that homeowner measurements are order-ready is setting up a change order.
There is a second reason the gap matters. Cabinets come in fixed width increments, most commonly steps of 3 inches, so your wall dimension does not translate directly into a cabinet run. A 94 inch wall gets boxes totaling less than that plus filler strips, and how much filler you end up with, and whether you can avoid it, depends on which cabinet tier you are buying in. That tradeoff is worth understanding before you fall for a layout, and we cover it in our guide to stock, semi-custom and custom cabinets.
One related note if you are planning a narrow kitchen: the working clearance between two facing runs is measured counter face to counter face rather than wall to wall, which is a different number from anything in this article and the one that decides whether the layout is usable.
The errors that cause reorders
In rough order of how often we see them.
- Measuring only at floor height. Baseboard, bowed walls and built-up finish all distort the reading, and the floor is the least representative place on the wall.
- Measuring items from different reference points. Errors compound along the run.
- Planning a run to fit exactly, with no scribe allowance. Nothing is straight enough for an exact fit, and a run with no allowance will not go in.
- Ignoring the floor high point or out-of-square walls. Both are absorbed with shims and filler, but only if someone knew.
- Using appliance width instead of the published rough opening.
- Missing a drain that sits outside the new sink base.
- Skipping field verification after demolition. The cheapest step in the whole process and the one that prevents the most expensive mistake.