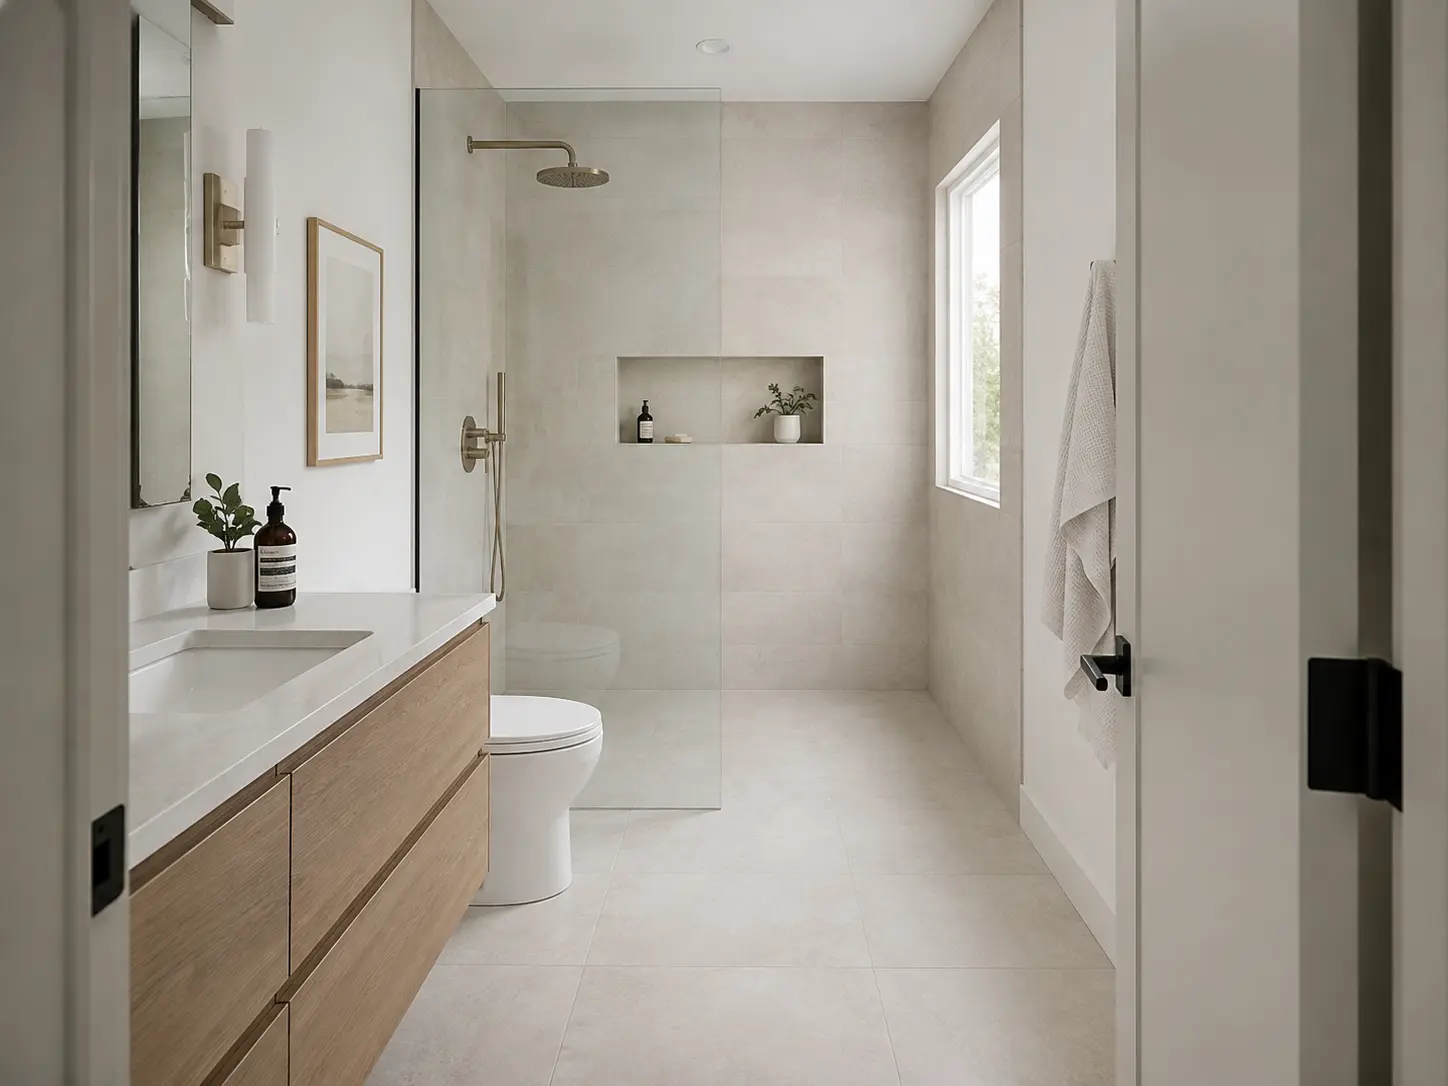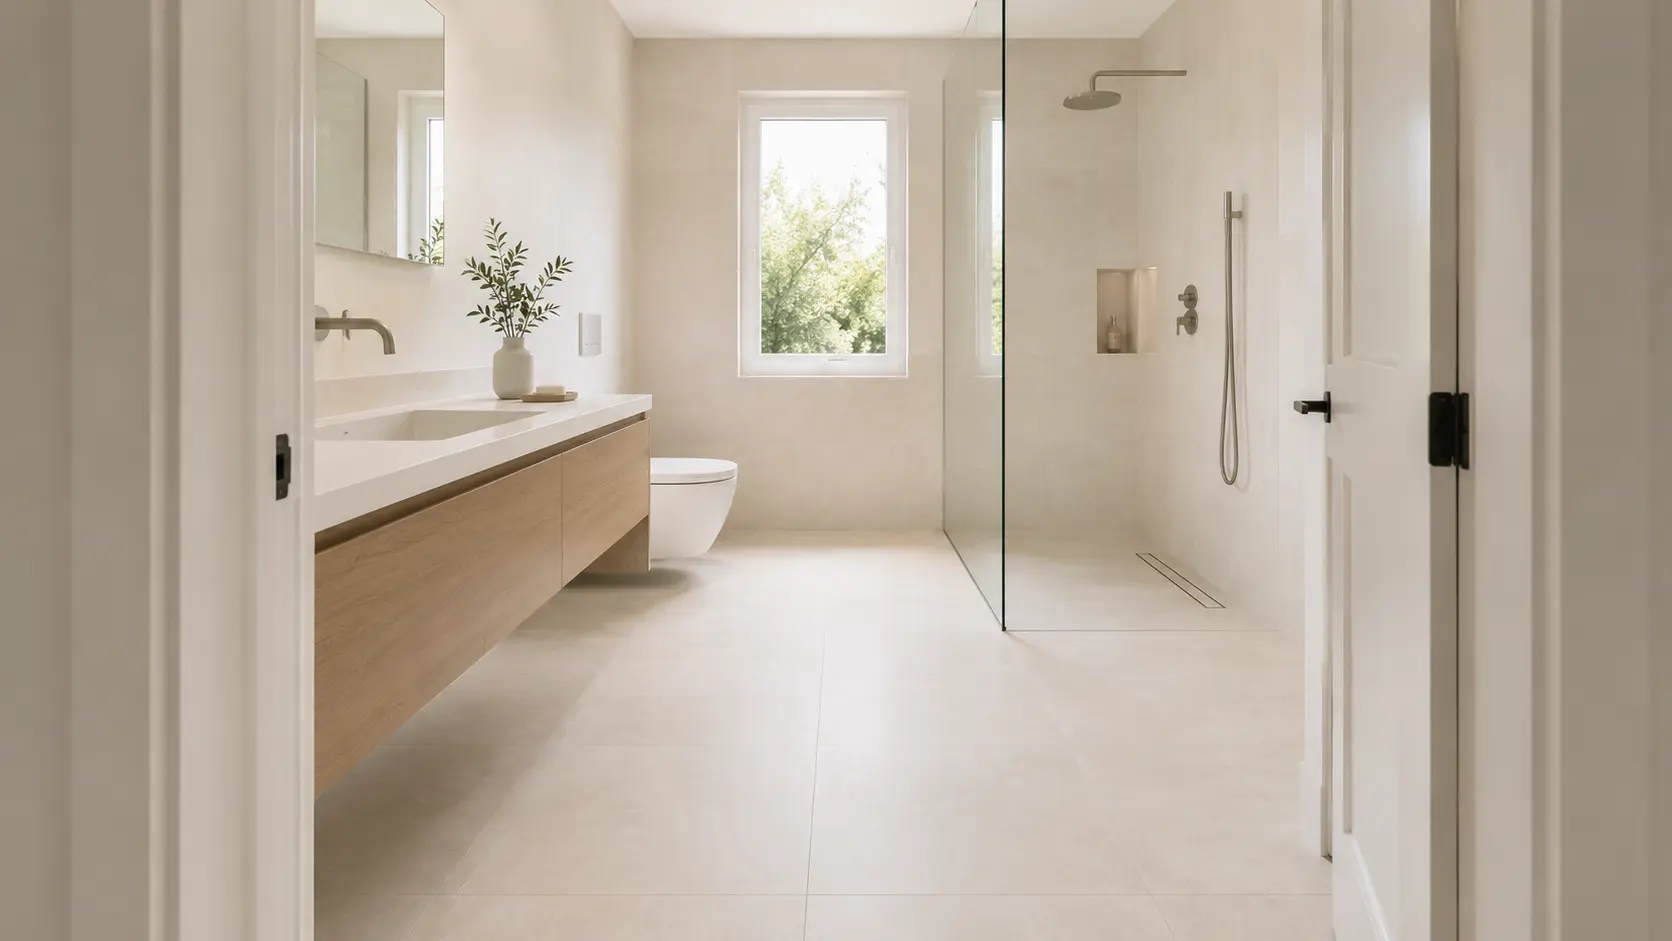
Small bathrooms are the hardest rooms in a house to design, because the fixtures do not shrink. A toilet needs the same clearance in a 35 square foot bathroom as in a 100 square foot one. In a typical 5 by 7 or 5 by 8 footprint, you are not decorating, you are solving a spatial problem with a few inches of margin.
There is one principle worth holding onto before the tactics: the more continuous floor you can see from the doorway, the larger the room feels. Every decision below serves that idea, whether it is floating a vanity, removing a shower curb, or moving a door into the wall. Here are ten layouts that genuinely work, with the dimensions that make them legal.
Quick answerIn a small bathroom, code requires 15 inches from the toilet centerline to any side obstruction, 21 inches of clear space in front of the toilet and sink, 24 inches in front of a shower entry, and a shower at least 30 by 30 inches. The most effective space-saving moves are a curbless shower, wall-hung toilets and floating vanities, a pocket or outswing door, and recessed stud-bay storage.
The clearances every small bathroom plan must meet
These numbers decide what fits. Code minimums come from the International Residential Code; the recommended column reflects NKBA bath planning guidance for comfort.
| Component | Code minimum (IRC) | Recommended target |
|---|---|---|
| Toilet centerline to side wall or fixture | 15 in | 18 in |
| Clear space in front of toilet | 21 in | 30 in |
| Clear space in front of sink | 21 in | 30 in |
| Clear space in front of shower entry | 24 in | 30 in |
| Shower interior footprint | 30 x 30 in, min 900 sq in | 36 x 36 in |
| Shower door opening | 22 in | 24 in or wider |
| Toilet centerline to adjacent fixture centerline | 30 in | 36 in |
| Exhaust ventilation | 50 cfm intermittent or 20 cfm continuous | Sized to room, humidity sensing |
Three traps catch small bathroom remodels at inspection. Finished wall thickness counts: frame at 15.5 inches from the toilet flange and you end up at 14.75 inches after backer board and tile, which fails. The door swing is an obstruction: if the door opens inward and clips the bowl, you fail the 21 inch front clearance. And if your jurisdiction has adopted the Uniform Plumbing Code, the front clearance requirement is 24 inches rather than 21.
10 small bathroom layouts that work
1. The classic 5x8 single-wall linear run
Best for: standard 5 by 8 hall baths where minimizing plumbing cost matters.
The tub or shower combo sits at the far 5 foot wall, with the toilet and vanity aligned along one side wall. Everything shares a single wet wall, so all supply and waste lines consolidate into one framing bay. That is the cheapest possible plumbing configuration and the reason this layout has been the builder default for decades.
To buy back inches, use a 24 to 30 inch vanity with a shallower 18 inch countertop depth instead of the standard 21 inches. Nobody notices the missing three inches at the sink, and everybody notices them in the walkway.
2. The curbless corner glass shower conversion
Best for: replacing a bulky acrylic tub insert in a 5 by 7 layout.
A neo-angle or rectangular walk-in shower goes in the far corner behind a fixed frameless glass panel. Removing the tub apron and the curb eliminates two visual barriers at once, and a curbless drain lets the floor tile run straight into the shower pan with no break. The eye reads one continuous floor instead of three chopped zones.
Remember you still need 24 inches of clear space in front of the shower entry, and the compartment itself must be at least 30 by 30 inches and 900 square inches.
3. The wall-hung carrier and floating vanity layout
Best for: ultra-compact spaces around 35 square feet or smaller.
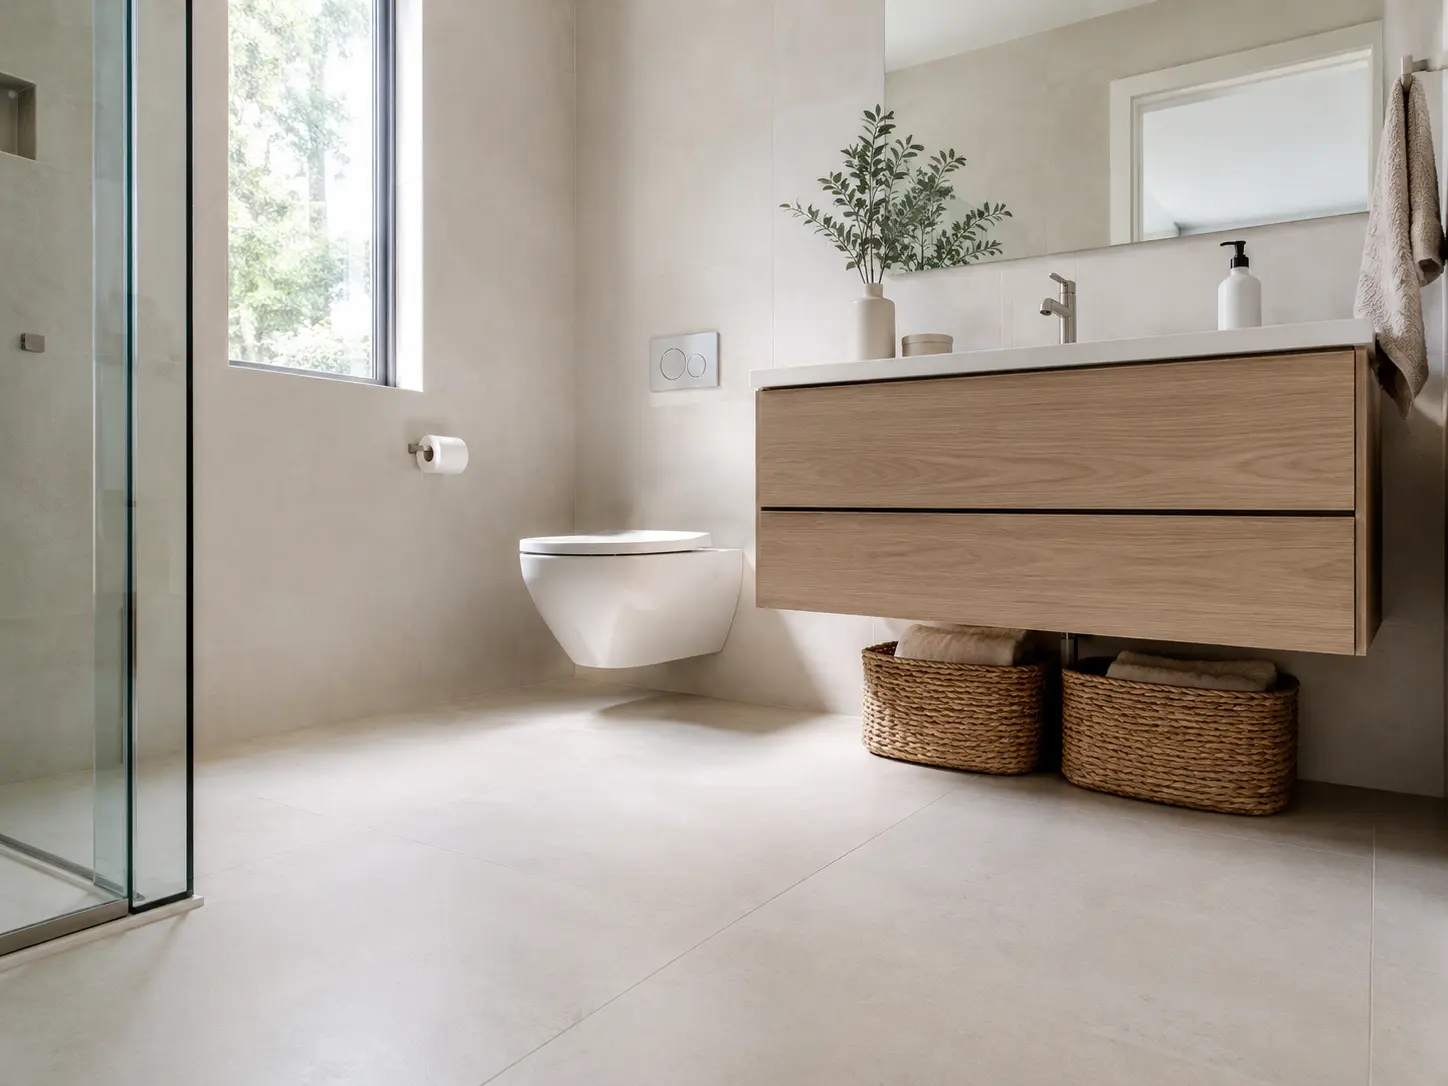
Pair a wall-mounted toilet on an in-wall carrier with a cantilevered floating vanity. Both fixtures lift off the floor, opening 8 to 12 inches of visible floor beneath them. Sightlines run unbroken to the back wall, the room reads deeper than it is, and the space under the vanity holds baskets without looking like storage.
The carrier tank hides inside the wall, which also recovers several inches of projection compared to a standard tank toilet.
4. The wet room floor plan
Best for: small square footprints, around 5 by 5 or 6 by 6, where partitions choke movement.
Tank the entire room: full waterproofing, a floor sloped to a linear drain, and the shower, toilet, and sink sharing one continuous waterproof envelope. With no enclosure frames or shower doors, you recover the physical volume those elements consumed and the room reads as one space.
This is the most construction-intensive option here, because the waterproofing has to be flawless and the ventilation has to be sized properly, but in a genuinely tiny square room it is often the only way to get a comfortable shower.
5. The pocket-door side entry layout
Best for: narrow bathrooms where a swinging door blocks the vanity or the toilet's clear space.
Convert a standard 30 inch inward-swinging door to a pocket door recessed into the stud bay. A door swing arc consumes real usable floor, often several square feet, and in a small bathroom that arc is usually overlapping the exact clearance the code requires in front of a fixture. An outswing door achieves the same result if the framing will not take a pocket.
6. The corner-anchor layout
Best for: square powder rooms being expanded into full baths, or rooms with multiple entry points.
Set the vanity or a corner shower directly across from the entry, angled at 45 degrees. Turning the fixture diagonally clears the central pathway and stops the shoulder-bumping that happens when someone is at the sink and someone else comes through the door.
7. The recessed stud-bay layout
Best for: rooms where the walls cannot move and the floor plan is fixed.
Use the wall cavity itself. Standard 2x4 or 2x6 framing gives you 3.5 to 5.5 inches of depth for flush medicine cabinets, full-height recessed shelving above the toilet, and deep shower niches. It adds real storage entirely within the wall plane, so nothing encroaches on floor area or walkways.
Coordinate this early with your plumber and electrician. Stud bays that contain a waste stack, supply lines, or wiring are not available, and you want to know that before the drawings are final.
8. The end-to-end galley layout with center entry
Best for: long narrow rooms, around 4 by 10 or 4.5 by 12.
The door opens at the center of a long wall directly onto the vanity. The toilet occupies one end wall and a walk-in shower anchors the opposite end. Functions separate cleanly into zones, and because you enter at the midpoint, sightlines run to both ends and the room does not read as a corridor.
9. The Japanese soaking tub and overhead shower hybrid
Best for: anyone who insists on a soaking tub in under about 45 square feet.
A deep-basin soaking tub runs roughly 40 to 48 inches long but 28 or more inches deep, so you sit upright and submerged rather than lying down. Placed in the far alcove with a shower head above, it serves as both tub and shower basin. Compared to a standard 60 inch alcove tub, you recover 12 to 18 inches of length, which is often exactly the width a decent vanity needs.
10. The asymmetrical tapered vanity layout
Best for: L-shaped or awkwardly angled small bathrooms.
A custom vanity tapers from a full 21 inch depth at the sink down to about 12 inches as it approaches the door or the toilet. You keep full functionality where the basin is and give back critical passage clearance exactly where the pinch point occurs. It requires custom cabinetry, which is the trade-off, but it solves problems a stock box cannot.
Material tactics that multiply visual square footage
The layout does the heavy lifting, but four material decisions make a small bathroom read considerably larger.
Continuous flooring. Run one large-format tile, something like 24 by 48 inches, from the doorway straight into a curbless shower. Fewer grout lines and no threshold means no visual break to tell your eye where the room ends.
Low-iron frameless glass. Standard glass carries a green tint that reads as a wall. Ultra-clear low-iron glass in a frameless panel keeps light moving across the whole room and effectively disappears.
Monochromatic vertical tiling. Tiling floor to ceiling in a single lighter tone, with texture rather than contrast for interest, draws the eye upward and makes the ceiling feel higher. Contrast bands do the opposite: they chop the wall into segments.
Integrated linear lighting. LED strips recessed along wall perimeters, inside niches, or beneath a floating vanity erase the corner shadows that make a small room feel like a box.
Structural and infrastructure realities
Two constraints determine whether your dream layout is affordable.
Plumbing stacks. Moving a toilet means relocating a 3 to 4 inch waste line, which usually involves opening the floor structure and maintaining proper fall and venting. Moving a sink or shower means shifting half inch supply lines and a smaller drain, which is dramatically simpler. If the budget is tight, design around the existing stack location and move the fixtures that are cheap to move.
Ventilation. A small bathroom saturates fast. Code requires 50 cfm intermittent or 20 cfm continuous exhaust ducted to the exterior, but in a tight, tile-heavy room, size the fan generously and choose a quiet, humidity-sensing unit. It protects custom cabinetry, wall finishes, and grout from the mold that destroys a small bathroom first.