A bathroom packs more trades per square foot than any other room in a house. Plumbing, electrical, mechanical ventilation, waterproofing, tile setting, glass, and cabinetry all have to coordinate inside forty or fifty square feet, and most of that work disappears behind finished surfaces within a few weeks.
That is what makes bathroom mistakes expensive. In a kitchen, a poor decision is usually visible and fixable. In a bathroom, the costly errors are buried, and you find out about them through a stain on the ceiling below two years later.
Here are the ten that cost homeowners the most, and what to do instead.
Quick takeBathrooms contain more trades per square foot than any other room. Avoiding early mistakes, like skipping proper exhaust ventilation, choosing slick floor tile, or skimping on behind-the-wall waterproofing, saves thousands in rework and keeps the project on budget. Nearly all of them are decided before demolition.
Why bathroom mistakes get expensive
The cost of fixing any of these depends almost entirely on when you catch it. A layout problem spotted on a drawing costs an eraser. The same problem caught after tile is set costs demolition, new materials, and a schedule that slips by weeks.
The 10 mistakes
1. Skipping a comprehensive waterproofing system
The mistake. Relying on tile and grout to hold back water, without a continuous membrane behind the walls and under the floor. Tile and grout are water resistant, not waterproof.
The hidden cost. Water passes the grout, saturates the mortar bed, and reaches the subfloor and framing. By the time it shows on a ceiling below, you are looking at rot, possible mold, and a full shower teardown.
The fix. Require a continuous sheet or liquid membrane system complying with ANSI A118.10, and require a 24 hour shower pan flood test before any tile goes on. That test is the last cheap moment to find a problem. Our guide to shower thresholds covers where these assemblies typically fail.
2. Undersizing the exhaust ventilation
The mistake. Reusing the old fan, or sizing a new one from floor area alone while ignoring ceiling height, shower type, and duct run.
The hidden cost. Trapped humidity peels ceiling paint, warps vanity cabinetry, blackens grout, and produces the damp smell that never quite clears. In a tiled, steamy room this destroys finishes you just paid for.
The fix. Code sets a floor of 50 cfm intermittent or 20 cfm continuous, but treat that as a minimum rather than a target. Size the fan to the room's volume, choose an ultra-quiet in-line model rated around a sone or less so you will actually run it, and pair it with a humidity-sensing switch that runs it automatically after a shower.
3. Choosing slick or hard-to-clean floor tile
The mistake. Specifying polished porcelain or slick natural marble for a wet shower floor because it looked good on a showroom display board.
The hidden cost. A genuine slip hazard, and on natural stone, endless maintenance on grout and sealing.
The fix. Use textured or matte-finish porcelain, or small mosaic tile whose extra grout lines add grip. Ask for the tile's DCOF rating and look for 0.42 or higher for wet areas. That single number is the objective measure of slip resistance, and most homeowners never think to ask for it.
4. Relying on a single overhead light
The mistake. One recessed can in the middle of the room, or one fixture above the mirror, doing all the work.
The hidden cost. Downward light casts hard shadows across your face, which is precisely wrong for shaving or applying makeup, and leaves the shower and corners dim.
The fix. Layer it. Sconces at eye level on both sides of the mirror to light your face evenly, dimmable recessed cans for general light, and accent lighting in shower niches. Put the layers on separate switches so the room can be bright at 6 a.m. and low in the evening.
5. Moving plumbing without a feasibility check
The mistake. Redrawing the layout to put the toilet, sink, or shower on a different wall without first checking joist direction, the waste stack location, and what is actually under the floor.
The hidden cost. Rerouting a 3 or 4 inch waste line means opening the floor structure and maintaining proper fall and venting. Do it across joists and you are into structural work or a furred-down soffit in the room below.
The fix. Have the builder assess existing plumbing during the first site walkthrough, before the design is emotionally settled. Keep the toilet and shower near the existing stack where possible, and spend the money moving the sink instead, which runs on far smaller lines.
6. Forgetting storage for real life
The mistake. Choosing a pedestal sink or a minimal floating vanity for the look, without planning where towels, paper, toiletries, and hair tools will go.
The hidden cost. Permanent countertop clutter, which undoes the clean look you paid for, plus the cost of buying awkward aftermarket cabinets later.
The fix. Design storage in: deep drawers rather than a doored cabinet, a recessed medicine cabinet set into the stud bay, a drawer with an interior outlet for hot tools, and a niche in the shower rather than a hanging caddy.
7. Overlooking door swings and clearances
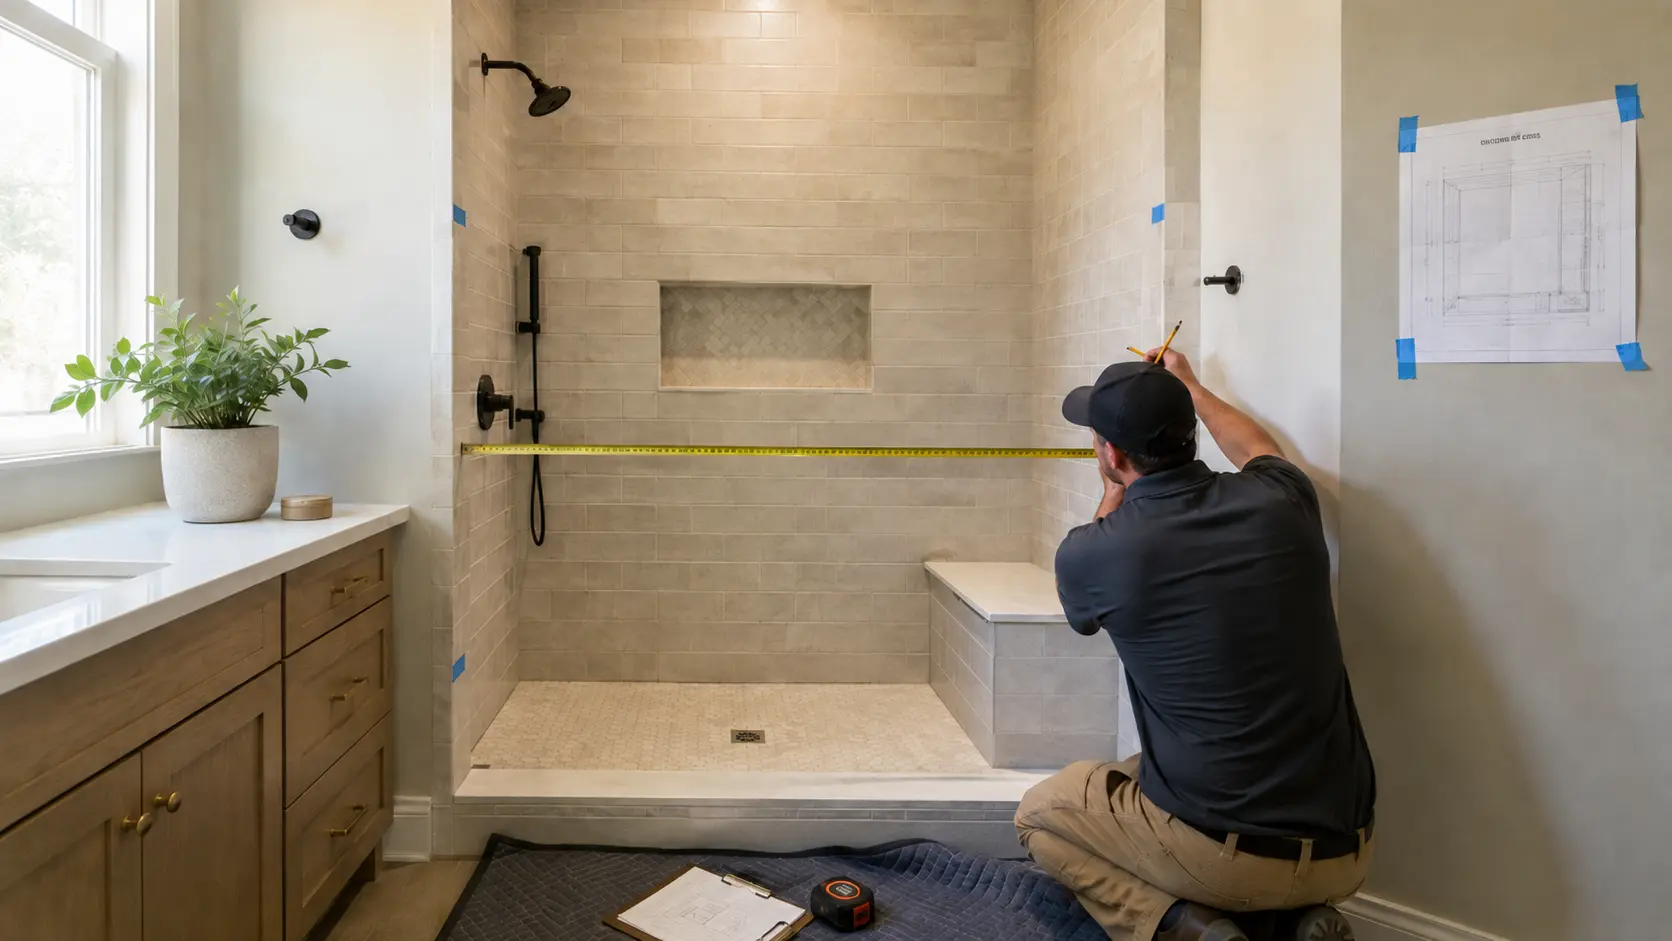
The mistake. Not drawing the arcs. Shower door swing, vanity drawer extension, and the entry door path all consume floor that also has to serve as fixture clearance.
The hidden cost. A vanity drawer that hits the toilet, a shower door that collides with a towel bar, or a room that feels cramped every time someone walks in.
The fix. Know both numbers. Code requires 21 inches of clear floor space in front of a toilet or sink and 24 inches in front of a shower entry, with jurisdictions on the Uniform Plumbing Code requiring 24 inches in front of a toilet. NKBA recommends 30 inches for comfort. Design to the recommendation where the room allows, and never below the code minimum. In tight footprints, use a pocket or outswing entry door and sliding shower glass. Our small bathroom layout guide covers this in detail.
8. Picking fixtures on style rather than durability
The mistake. Buying cheap online-only valves and faucets because the finish is on trend or the price is low.
The hidden cost. Plastic cartridges wear out, replacement parts are unavailable, finishes flake, and worst of all, a failing valve body is buried inside a finished tiled wall. Replacing it means opening that wall.
The fix. Spend on the parts inside the wall, where you can economize on the parts outside it. Solid brass valve bodies from established manufacturers, with real warranties and parts you can still buy in fifteen years. The valve is not where to save money.
9. Neglecting future accessibility
The mistake. Designing only for the household's current mobility, with no thought to aging in place or a future injury.
The hidden cost. Remodeling the same bathroom again in five to ten years to add grab bars or widen an entry, at full price.
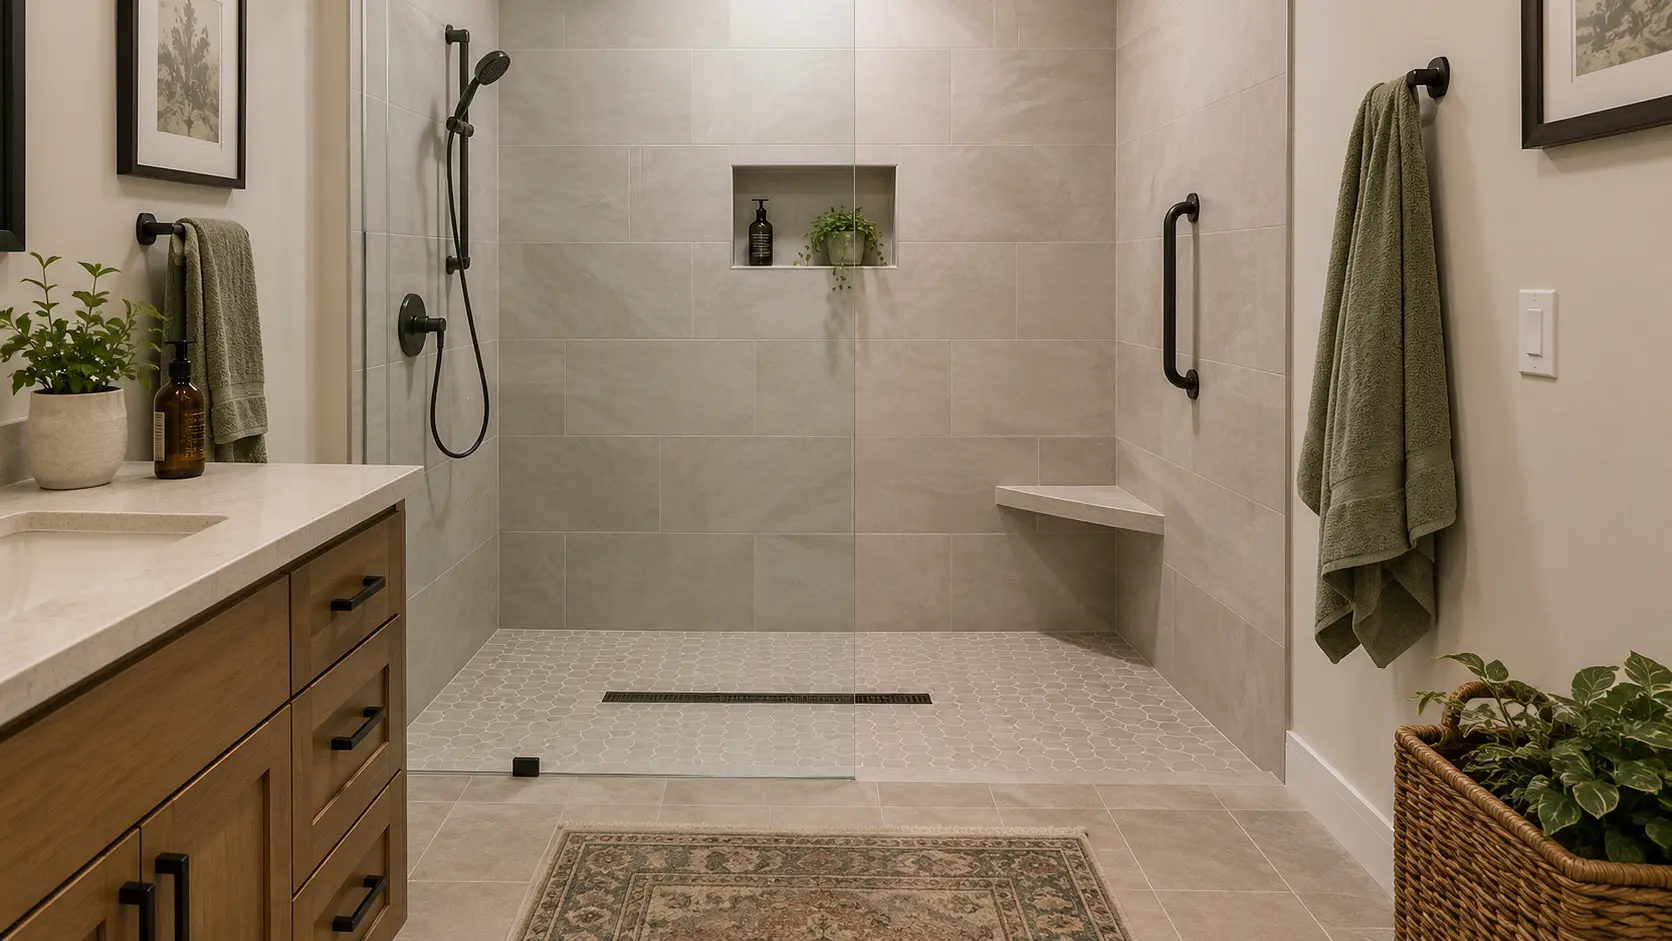
The fix. Two cheap moves now. Add solid wood blocking behind the shower and toilet walls during framing so grab bars can be mounted anywhere later without opening walls, which costs almost nothing at rough-in. And seriously consider a curbless entry, which reads as modern today and removes the step whenever it matters.
10. Hiring on the lowest bid alone
The mistake. Signing with whoever gave the fastest, cheapest verbal number, without an itemized scope or verified licensing.
The hidden cost. Lowball bids get low by leaving things out: demolition, debris removal, permit fees, tile allowances, or the waterproofing system from mistake one. Those reappear as change orders once you are committed and your bathroom is already gutted.
The fix. Compare scopes, not totals. Insist on a line-item proposal, a fixed-price contract, a written schedule, and proof of licensing, bonding, liability insurance, and workers' compensation. If one bid is dramatically lower, the honest question is not why they are cheap, but what is missing.
Mistake versus smart solution
| Potential mistake | Hidden risk | The smart solution |
|---|---|---|
| No flood test | Leaks, rot, mold in the subfloor | Mandatory 24 hour flood test before tile |
| Undersized vent fan | Mold, peeling paint, damp odor | High-cfm quiet fan with humidity sensor |
| Polished floor tile | Slip hazard in wet zones | Matte or mosaic tile, DCOF 0.42 or higher |
| Single overhead light | Facial shadows, dim shower | Layered sconces, cans, and niche lighting |
| No grab bar blocking | Second remodel in 5 to 10 years | Add wall blocking at framing stage |
| Lowest bid | Change orders and gaps in scope | Fixed-price, line-item scope from a licensed builder |
Pre-remodel checklist
Work through these before demolition day.
- [ ] Set a realistic budget with roughly a 15 percent contingency for what opens up behind the walls.
- [ ] Verify your contractor's license, bonding, liability insurance, and workers' compensation.
- [ ] Confirm the framing plan includes blocking for grab bars and any floating vanity.
- [ ] Draw every door swing, shower glass panel, and drawer extension on the floor plan.
- [ ] Confirm clearances meet code and, where possible, the recommended dimensions.
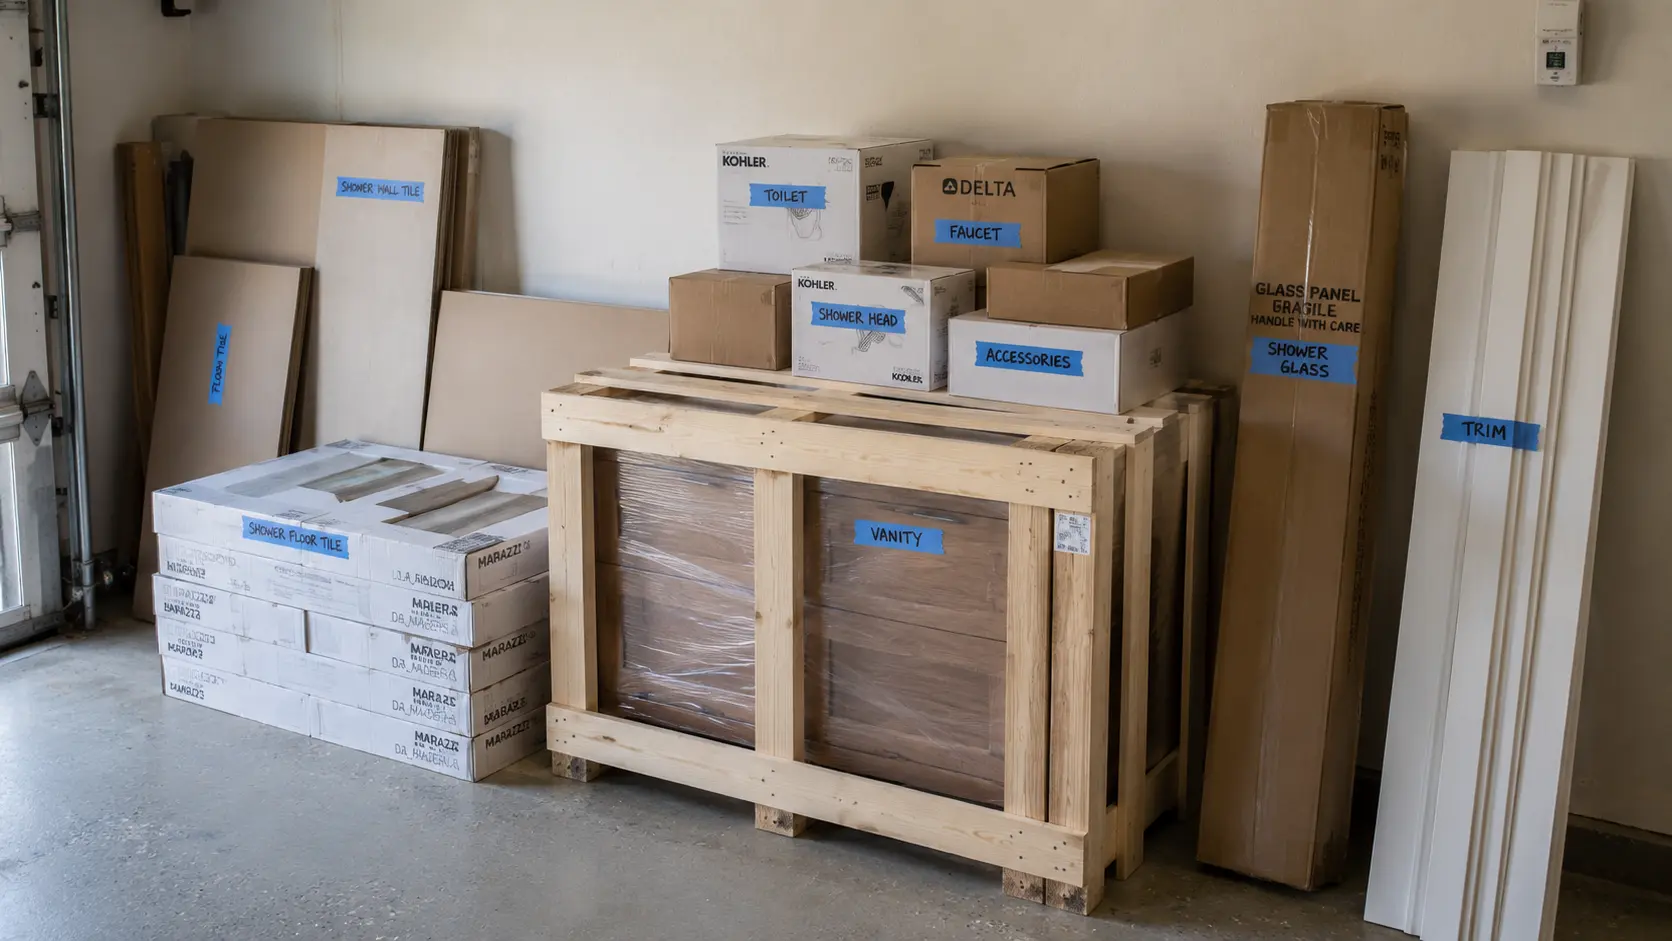
- [ ] Select all tile, vanity, and plumbing fixtures before demolition to avoid jobsite downtime.
- [ ] Confirm the waterproofing system and that a flood test is written into the scope.
- [ ] Agree the ventilation cfm and fan location, ducted to the exterior.
For context on budget and schedule: a standard full bathroom typically runs $40,000 to $75,000 and a luxury primary suite $75,000 to $125,000, with construction taking 4 to 10 weeks depending on scope, plus roughly a month of design, ordering, and permitting beforehand. Permit fees generally land around 0.5 to 1.5 percent of project cost.