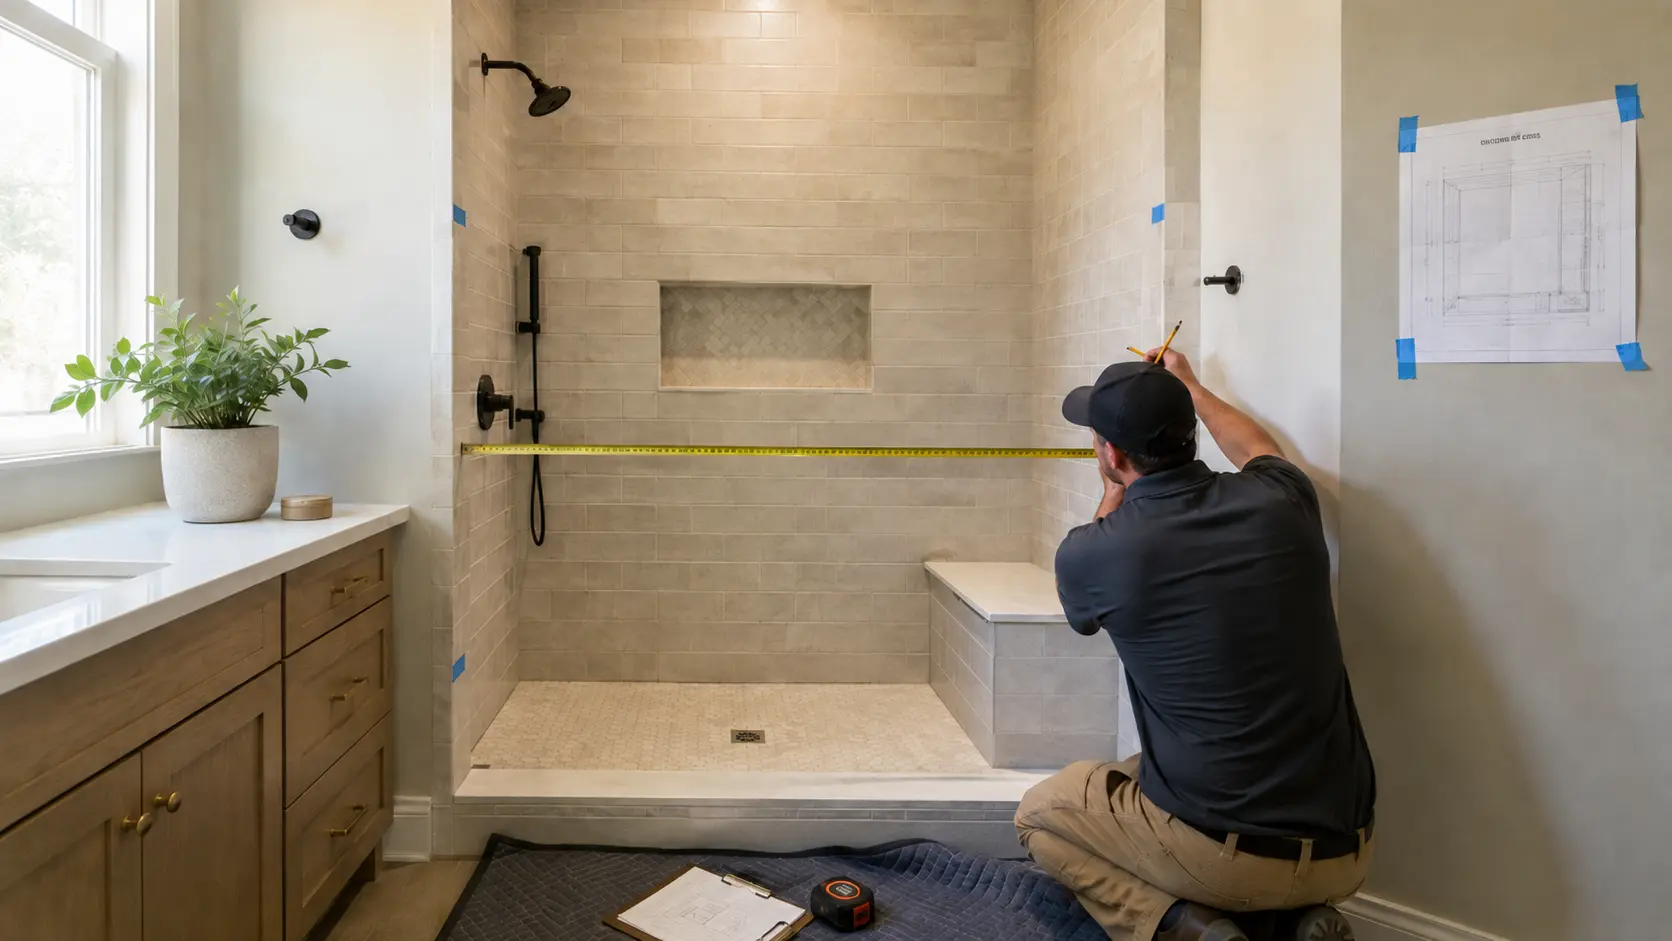
The shower threshold is the raised curb at the shower entry. Contractors also call it the curb or the dam, and it is the single most failure-prone detail in a tiled shower.
That is not an exaggeration. A threshold is where three things meet: the wet floor inside, the dry floor outside, and the wall framing on either side. Every one of those junctions is a place water can get into your house. Build the curb correctly and it lasts as long as the shower. Get one detail wrong and water tracks under the tile into the mortar bed, reaches the framing, and eventually shows up as a stain on the ceiling below.
This guide covers what the threshold actually does, the exact code numbers that govern it, how it is built and waterproofed, why curbs leak, and when to skip the curb entirely.
Quick takeA shower curb has to finish 2 to 9 inches above the drain, with the shower floor sloped 1/4 to 1/2 inch per foot toward it. What actually makes it waterproof is the membrane wrapped over the curb and rising at least 2 inches above the finished threshold, not the tile. Finish with a 3/8 to 1/2 inch drip edge on the shower face and 100 percent silicone at every change of plane. Curbless is fully code-compliant, but it is a different assembly, not a curb left off.
What a threshold actually does
Three jobs, in order of importance.
It contains water. The curb holds back standing water inside the shower, and more importantly, the waterproofing wrapped over it stops water migrating sideways into the wall cavity and the framing beyond.
It separates wet from dry underfoot. That raised edge tells your foot where the slip zone ends. It is a cheap and effective fall-prevention feature.
It gives the pan liner somewhere to terminate. This is the one homeowners never hear about and it matters more than the first two. The waterproof membrane lining the shower floor has to turn up and over the curb, and it needs height to do that. The curb exists partly to give the waterproofing a place to end above the water line.
The code numbers that govern a shower curb
Most articles give you one number. There are actually four, and they come from IRC Section P2709.1.
| Specification | Requirement |
|---|---|
| Curb height | Not less than 2 inches and not more than 9 inches, measured from the top of the curb to the top of the drain |
| Curb relative to receptor | Not less than 1 inch below the sides and back of the receptor |
| Shower floor slope | Not less than 1/4 inch per foot and not more than 1/2 inch per foot toward the drain |
| Threshold width | Sufficient to accommodate a minimum 22 inch door |
Two of these are routinely misquoted online.
The measurement reference matters. Curb height is measured from the top of the finished curb to the top of the drain, not from the bathroom floor. A curb that looks 4 inches tall from outside may be only 2 inches above the drain once the sloped floor is accounted for.
The slope is a range, not a minimum. Many guides state 1/4 inch per foot and stop. The code also sets a maximum of 1/2 inch per foot. Slope the floor too steeply and it becomes uncomfortable to stand on and awkward to tile, which is a real failure, just not a leaking one.
In practice most contractors target a finished curb of about 3 to 4 inches above the drain. That clears the 2 inch minimum with margin for the mortar bed and tile thickness, without becoming a trip hazard.
The waterproofing spec nobody mentions
Here is the detail that separates a shower that lasts from one that fails in five years, and it is absent from almost every homeowner guide online.
The shower pan liner is not just a flat sheet under the floor. Under IRC P2709.2, the lining material must extend not less than 2 inches beyond or around the rough jambs and not less than 2 inches above the finished threshold. The membrane has to climb the curb and finish above the water line, and it has to wrap around the door jambs.
Two related requirements follow from that:
Penetrations must sit above the water line. Any staple or fastener through the membrane needs to be above the finished threshold height. A fastener driven low into the liner is a hole below the waterline.
Weep holes must stay clear. The clamping ring at the drain has small weep holes that let water that reaches the liner drain away. If they get packed with mortar or thinset during the mud bed, water sits on the liner permanently. Blocked weep holes are one of the most common causes of a shower that smells musty and never seems to dry, and no consumer guide mentions them.
One note on code editions: the 2009 IRC specified 3 inches rather than 2 for those extensions. Your jurisdiction's adopted edition governs, so confirm locally.
Acceptable lining materials under the code include sheet lead, sheet copper, PVC complying with ASTM D4551, chlorinated polyethylene complying with ASTM D4068, hot mopping, and sheet-applied bonded waterproof membranes complying with ANSI A118.10. That last category covers the modern systems most quality builders use today.
How a curb is built
The sequence matters, because waterproofing that goes on in the wrong order does nothing.
- Set the curb base. Traditionally three 2x4s stacked, though preformed foam curbs from systems like Schluter or Wedi are now common and eliminate the wood entirely. Wood inside a wet curb is a liability if the membrane ever fails.
- Slope the shower floor to the drain within the 1/4 to 1/2 inch per foot range, over a permanently sloped bed. Sand or unstable fill is not acceptable.
- Wrap the membrane over the curb top and down both faces, lapping onto the shower floor and out past the rough jambs, rising at least 2 inches above the finished threshold height.
- Slope the curb top back into the shower. A few degrees is enough. A curb sloped outward drains onto your bathroom floor.
- Set the threshold in thinset over the membrane, with the shower-side edge overhanging by 3/8 to 1/2 inch to create a drip edge.
- Seal the perimeter in 100 percent silicone, not grout. Every joint where the threshold meets tile, wall, or floor moves seasonally. Silicone flexes, grout cracks.
- Flood test before tile. Plug the drain, fill to just below the curb top, mark the line, and leave it 24 hours. This is a construction verification step, not just a diagnostic one, and it is the last cheap moment to find a problem.
Threshold materials
| Material | Sealing | Notes |
|---|---|---|
| Marble | Every 1 to 2 years | Single slab, no grout joints, classic look, porous |
| Granite | Periodic | Harder and less porous than marble, resists chipping |
| Quartz | Never | Non-porous engineered stone, lowest maintenance |
| Porcelain or ceramic tile | Grout requires sealing | Most affordable, matches the floor, but adds grout joints |
The functional argument favours a single slab over tile. A one-piece stone threshold has no grout joints across the curb top, and grout joints are seams water can exploit. That is why stone thresholds are the default in tiled showers even when the shower floor itself is tile.
Standard stone threshold widths are 36, 48, and 60 inches, cut to your opening. Widths beyond 60 inches requiring a single uncut piece push the price up significantly.
Why curbs leak
Almost every leaking curb traces to one of five causes, and four of them are invisible once tile is on.
Diagnosing it. Where the water appears tells you what failed. Water staining the ceiling below the bathroom points to the pan or curb waterproofing, not the surface tile, because water is passing the tile, reaching the mortar bed, and travelling to framing. Re-grouting will not fix that.
Test before you demolish anything. Plug the drain, fill the shower floor to just below the curb top, mark the water line, and wait 24 hours. A dropping line confirms the pan or curb membrane is leaking. A line that holds means the leak is above the floor, usually a wall joint or the silicone perimeter, which is a far smaller repair.
Curb or curbless?
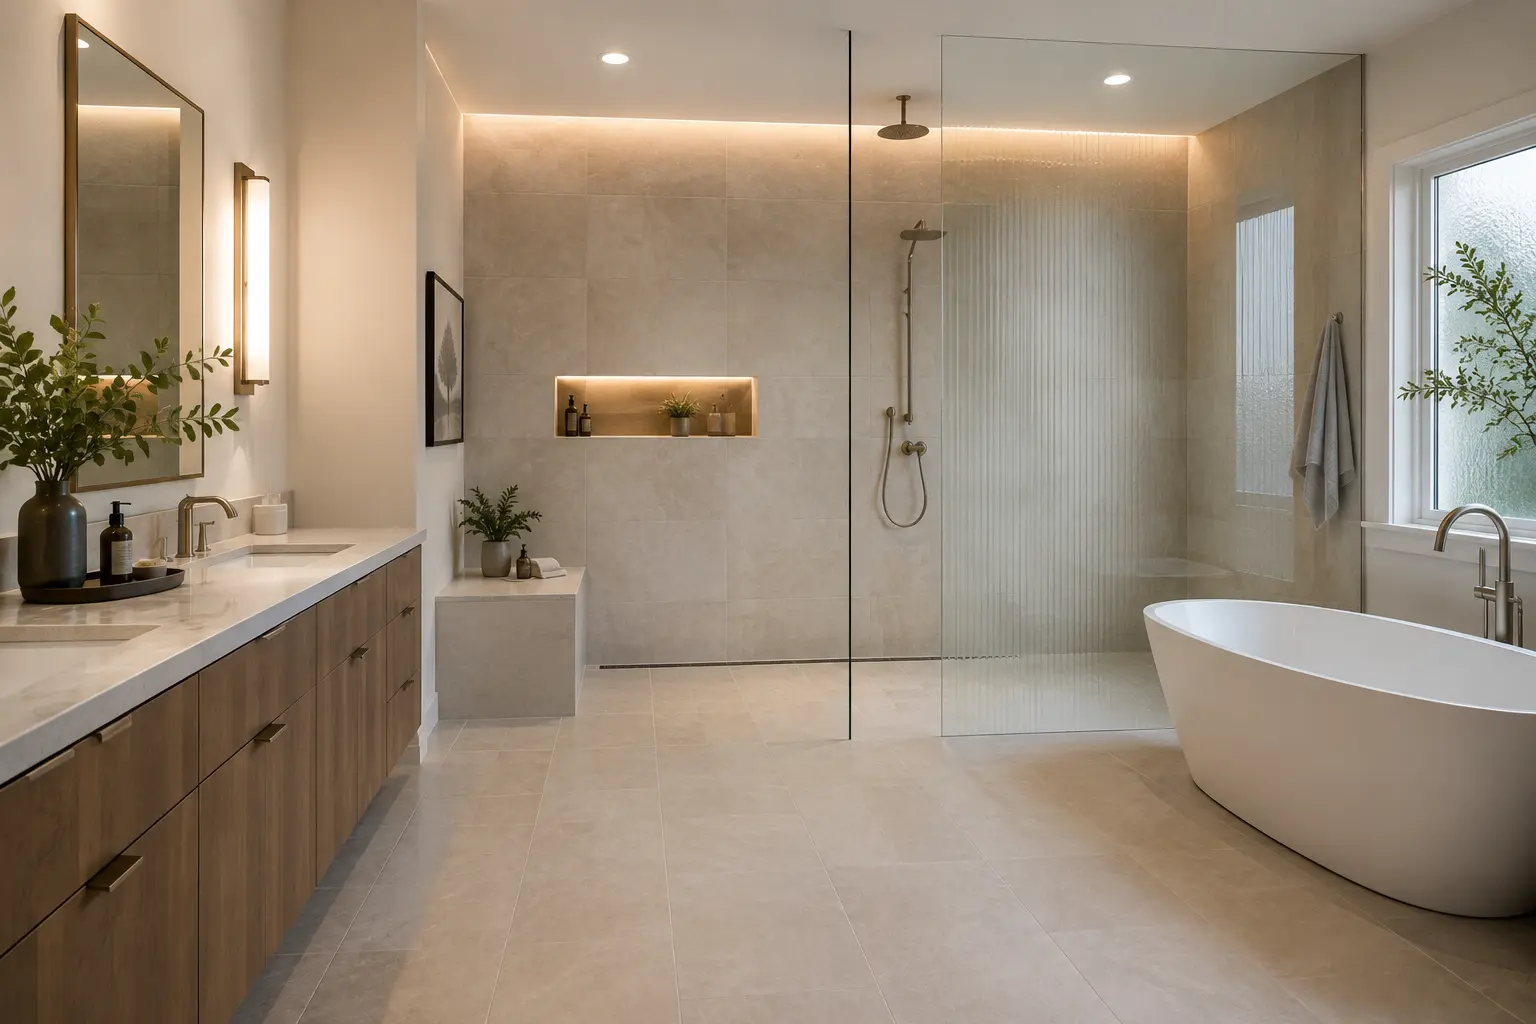
A common misreading is that code requires a curb. It does not. The IRC language is conditional: it specifies dimensions where a shower receptor has a finished curb threshold. A curbless shower is a different assembly, not a violation.
That said, curbless is not simply "the same shower minus the curb." Removing the curb removes your containment, so the waterproofing has to work harder and extend further. The floor structure is typically dropped so the sloped shower floor finishes flush with the bathroom floor, the waterproof membrane extends well past the shower opening onto the bathroom floor, and a linear drain lets the floor slope in a single plane so large-format tile lies flat.
Choose a curb when you want the simplest reliable containment, you are working within an existing floor structure you cannot modify, or the budget favours a conventional build.
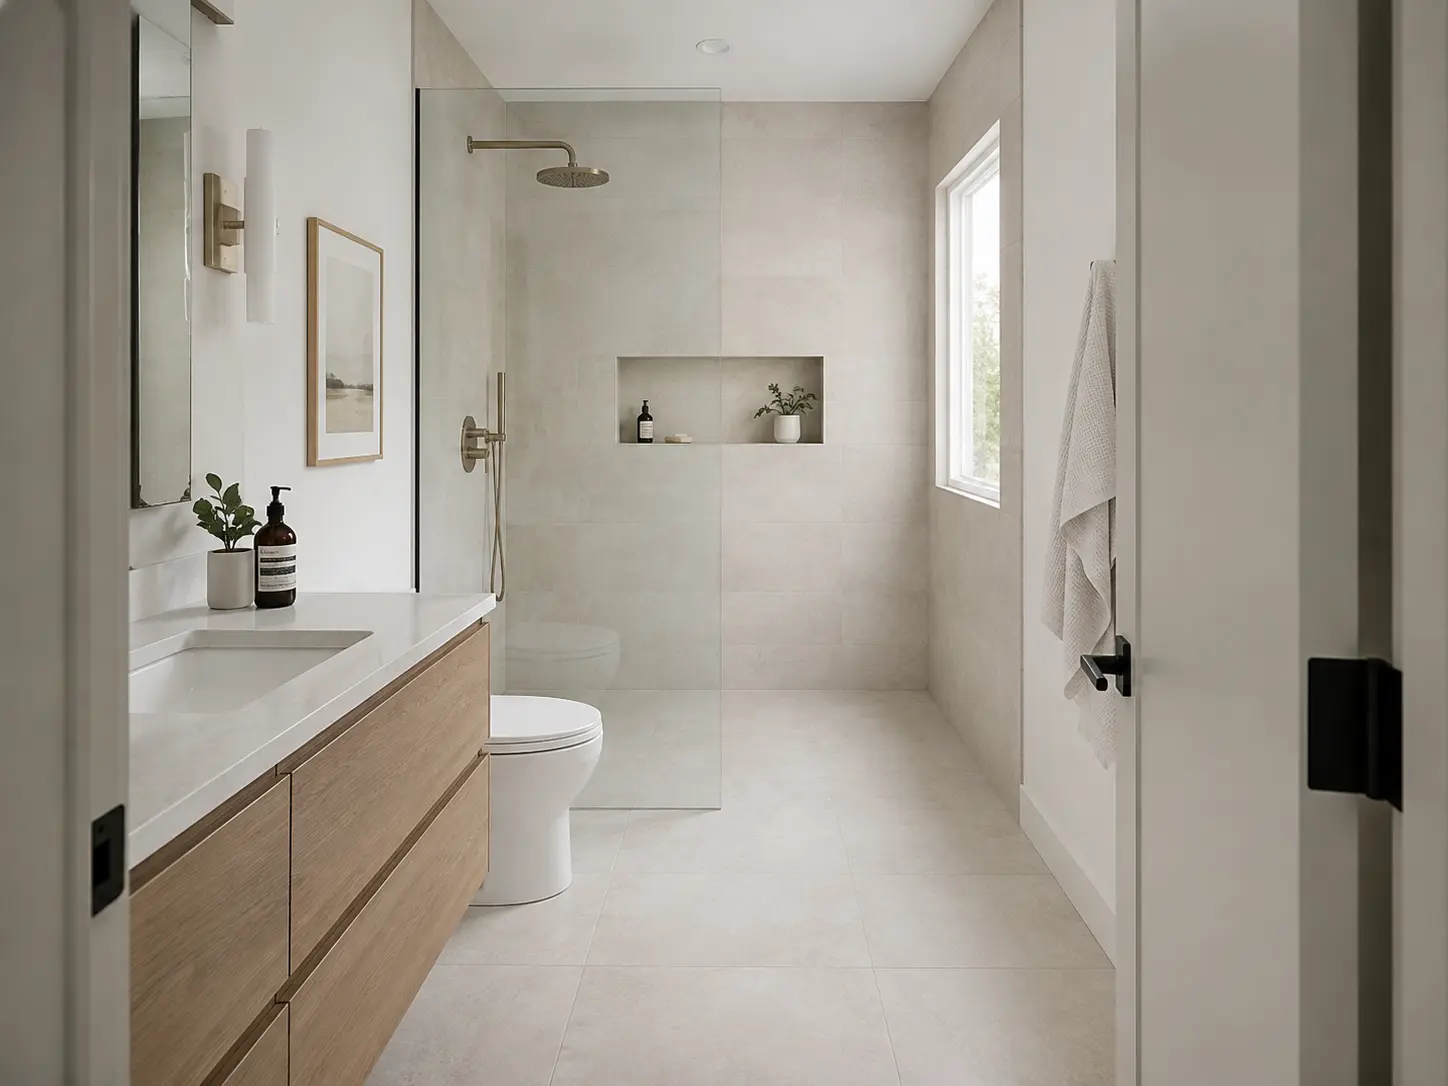
Choose curbless when accessibility matters now or later, when the bathroom is small enough that an unbroken floor plane meaningfully changes how it feels, or when you want a fully open modern look. Our curbless shower and wet room guide covers that build in detail.
On accessibility specifically: a 2 inch curb is a genuine obstacle for wheelchair users and anyone with limited mobility. Accessible design standards call for a threshold no higher than 1/2 inch, bevelled if it exceeds 1/4 inch, which is why accessible showers generally go curbless. Residential construction is not required to meet ADA, but ANSI A117.1 is the standard to design against if aging in place is the goal.
Maintenance
A properly built threshold lasts the life of the shower. Keeping it that way takes very little.
Clean with a mild, non-acidic cleaner, because acidic products etch marble and granite. Reseal porous stone and any grout lines every one to two years. Quartz needs no sealing. And inspect the silicone perimeter annually: when it cracks or pulls away, cut it out and reapply rather than caulking over it. That joint is a consumable, and replacing it on schedule is the cheapest leak prevention available.