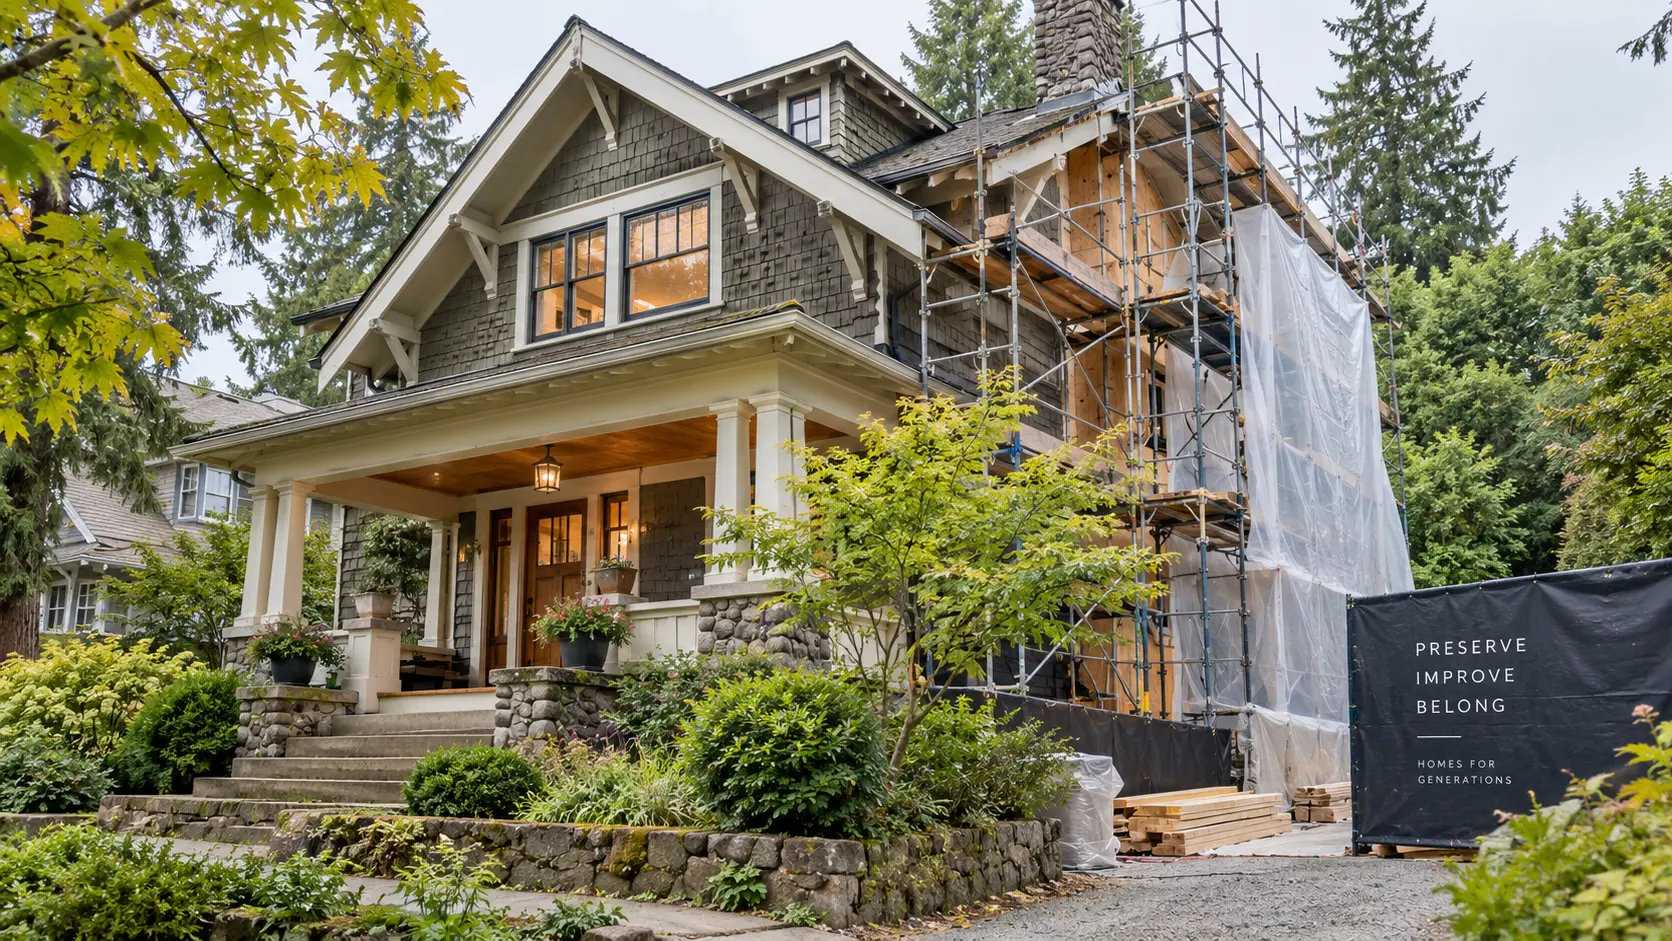
Older Issaquah homes have something new construction cannot manufacture. The mature trees, the established streets around Olde Town, the lots on Squak Mountain that back onto forest. That character is exactly why people buy them, and why they renovate rather than move.
What those homes also have is fifty or more years of accumulated infrastructure decisions, most of it invisible until a wall comes open. A renovation that plans for it runs smoothly. One that does not turns into a sequence of expensive surprises, each discovered at the worst possible moment.
Here are the nine realities to understand before you start.
Quick takeRenovating an older home in Issaquah offers character new construction cannot match, but vintage homes carry hidden structural and mechanical realities. Upgrading outdated wiring, replacing corroded plumbing, navigating City of Issaquah permitting including tree and critical area rules, and addressing crawl space moisture are all essential before the first wall comes down.
- What is actually behind the walls
- 1. The electrical panel almost always needs upgrading
- 2. Galvanized and cast iron plumbing need replacing, not connecting to
- 3. Issaquah permitting includes tree and critical area rules
- 4. Crawl spaces need moisture and vapor protection
- 5. Lead and asbestos testing comes before demolition
- 6. Framing and floors will not be level or plumb
- 7. Opening up sightlines needs a structural engineer
- 8. The energy envelope is worth fixing while walls are open
- 9. Budget a 15 to 20 percent contingency
- Older home versus modern standard
- Pre-renovation checklist
- Frequently asked questions
- Ready to modernize your older Issaquah home?
What is actually behind the walls
Before the list, a picture of what a 1950s to 1980s house typically contains versus what a modern renovation requires it to become.
1. The electrical panel almost always needs upgrading
The reality. Many mid-century and older Issaquah homes still run on 100 amp panels, often with ungrounded circuits, and the oldest housing stock can still contain legacy knob-and-tube wiring.
Why it matters. A modern kitchen, radiant floor heating, a steam shower, and an EV charger all draw current that a 100 amp service was never designed to supply. Add them to an old panel and you are either tripping breakers or creating a hazard.
What to do. Get an electrical evaluation early, before the design is finalized, and budget for a 200 amp service upgrade and rewiring. Remember that in Issaquah, electrical permits go through Washington State Labor and Industries rather than the city, which our Issaquah kitchen permit guide explains in detail.
2. Galvanized and cast iron plumbing need replacing, not connecting to
The reality. Galvanized steel supply pipes corrode from the inside over decades, narrowing the bore with mineral buildup until pressure drops and pinhole leaks start inside walls. Cast iron waste lines become brittle.
Why it matters. Connecting a new high-flow shower valve or kitchen faucet to a corroded supply line gives you a beautiful fixture with poor performance and a future leak. The new part is not the weak link, the sixty-year-old pipe feeding it is.
What to do. Repipe supply lines in PEX or copper and replace failing waste lines during demolition, while the walls and floors are already open. Doing it later means opening finished surfaces twice.
3. Issaquah permitting includes tree and critical area rules
The reality. The City of Issaquah Community Planning and Development Department enforces building codes, energy standards, and environmental regulations. Two of those catch older-home renovations specifically, and they are not building code at all.
Tree preservation. Under Issaquah Municipal Code 18.812, a "significant tree" is any tree measuring 6 inches or more in diameter at breast height, measured 4.5 feet above grade, or 8 inches for alder and cottonwood. Removing one generally requires a Tree Permit, and replacement is required at a ratio of not less than one for one, with canopy coverage equal to or greater than what was removed. The exemption is for nonsignificant trees not otherwise protected. Hazardous trees can be removed under emergency conditions before permitting.
If tree removal is part of an approved construction permit, a separate Tree Permit is not required, but the canopy coverage and minimum tree retention standards still apply. That distinction matters when an addition or a new foundation is planned near mature trees, which on established Issaquah lots is common.
Critical areas. Under Chapter 18.802 IMC, tree removal is prohibited in critical areas and native growth protection easements except under specific provisions. Properties near Issaquah Creek, on steep slopes, or adjacent to wetland buffers face additional environmental review, and removing tree roots on a steep slope can trigger a geotechnical evaluation. If your lot backs onto a forested slope or a ravine, confirm your critical area status before you design anything that touches the exterior.
What to do. Work with a design-build contractor who files through MyBuildingPermit.com and coordinates inspections, and get the tree and critical area questions answered during feasibility rather than after design.
4. Crawl spaces need moisture and vapor protection
The reality. Older Pacific Northwest homes commonly sit over uninsulated crawl spaces with bare soil, missing or torn ground vapor barriers, and perimeter drainage that has stopped working.
Why it matters. Ground moisture evaporates upward into the floor structure year round. That produces subfloor rot, cupped hardwood, mold, and floors that stay cold no matter how good your new heating is. Installing beautiful tile over a damp, unsealed crawl space is treating the symptom.
What to do. Install a heavy-duty vapor barrier over the soil, typically 10 mil or better, insulate and air-seal the rim joists, address perimeter drainage and exterior grade so water runs away from the foundation, and evaluate whether the crawl space should be sealed and conditioned. In this climate this is not an optional upgrade, it is the foundation of everything above it.
5. Lead and asbestos testing comes before demolition
The reality. Homes built before 1978 frequently contain lead-based paint, and asbestos turns up in popcorn ceiling texture, vinyl floor tile and its adhesive, duct wrap, and pipe insulation.
Why it matters. Demolition disturbs these materials and releases fibers and dust into the house. This is a health issue for your family and a regulatory one for your contractor, and it is not something to discover halfway through a tear-out.
What to do. Test before demolition, not during. Where materials are present, certified abatement crews remove them safely and the project continues on schedule. Where they are not, you have documentation and peace of mind for a modest cost.
6. Framing and floors will not be level or plumb
The reality. Fifty or more years of settling leaves floor joists out of level, ceilings sagging slightly, and wall studs out of plumb. This is normal in an older house, not a defect.
Why it matters. Modern finishes are far less forgiving than the ones they replace. Large-format tile telegraphs every dip as lippage or a cracked tile. Frameless glass shower doors bind when the opening is out of square. Flush cabinetry reveals gaps that a 1960s scribed baseboard hid easily.
What to do. Sister new joists alongside the old framing where deflection needs correcting, level subfloors with self-leveling underlayment, and plumb the wall studs before any tile or cabinetry is installed. Budget for this as a line item rather than hoping it is unnecessary.
7. Opening up sightlines needs a structural engineer
The reality. In older homes, the wall you want to remove for an open kitchen is very often load bearing, carrying the ceiling joists or roof above.
Why it matters. Removing it without proper support causes ceiling sag, roof displacement, and structural damage that is expensive and dangerous to correct.
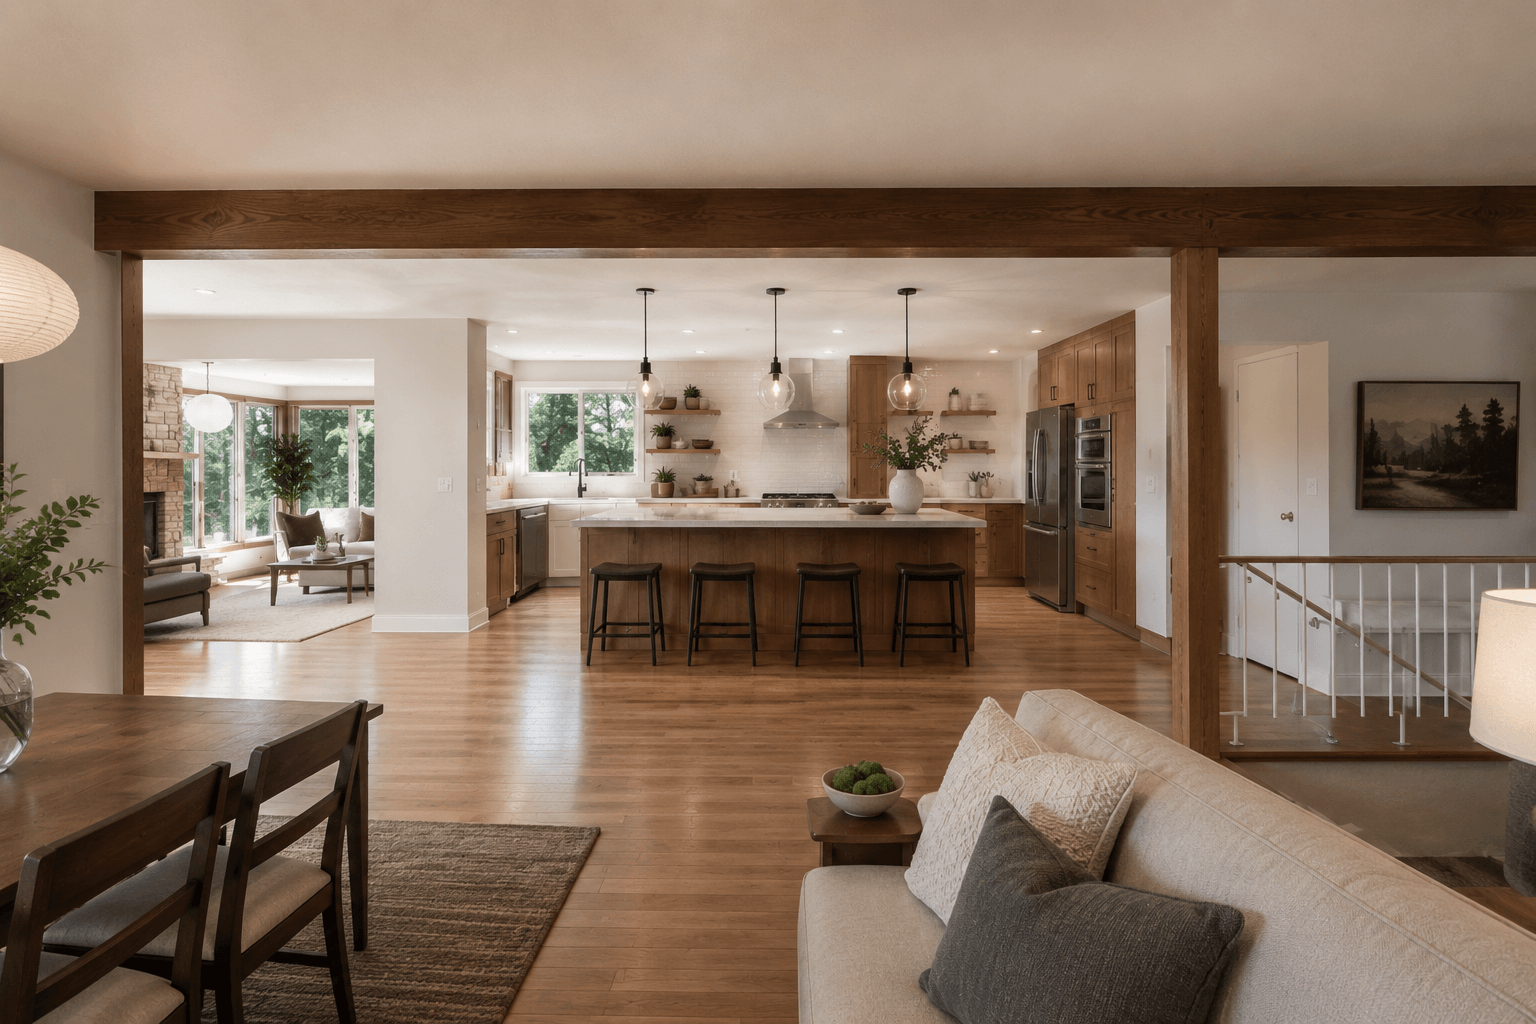
What to do. Retain a structural engineer to size the replacement beam. Flush-mounted LVL or steel hidden inside the ceiling cavity keeps the ceiling plane unbroken, which is usually what people actually want, though a dropped beam wrapped as a timber accent is a legitimate design choice. Either way the load must run through posts to adequate footings, which frequently means work in the crawl space below.
8. The energy envelope is worth fixing while walls are open
The reality. Vintage homes often have little or no wall insulation, single-pane windows, and unsealed rim joists that leak conditioned air continuously.
Why it matters. A beautifully remodeled kitchen in a drafty, cold house is a partial result. You feel the draft every winter regardless of how good the cabinetry is, and you pay for it monthly.
What to do. While the walls are open, air-seal the cavities, add high-density insulation, and upgrade to double or triple pane low-E windows. Washington State Energy Code compliance is triggered in the areas you open anyway, so the incremental cost of doing it properly is far lower during a renovation than at any other time.
9. Budget a 15 to 20 percent contingency
The reality. No walkthrough, however thorough, sees inside a closed wall. Opening a fifty-year-old house reveals something in nearly every project: previous unpermitted work, rot at a sill, a spliced circuit, a drain that was never vented properly.
Why it matters. Without a buffer, a surprise forces a compromise elsewhere. That is how homeowners end up downgrading the cabinetry they chose the whole project around, to pay for framing repairs nobody could have seen.
What to do. Reserve 15 to 20 percent of the project budget specifically for behind-the-wall corrections, weighted toward the higher end for the oldest homes. If you never touch it, you finish under budget.
Older home versus modern standard
| System | Typical older home | Modern renovation standard |
|---|---|---|
| Electrical service | 100 amp panel, ungrounded circuits | 200 amp panel, GFCI and AFCI protected |
| Water supply | Corroded galvanized steel | PEX or copper |
| Waste lines | Brittle cast iron | Modern PVC or ABS |
| Subfloor and framing | Settled, unlevel joists | Sistered framing, leveled subfloor |
| Insulation and glazing | Uninsulated walls, single pane | Sealed envelope, double pane low-E |
| Crawl space | Bare soil, failed drainage | Sealed vapor barrier, insulated rim joists |
| Permit history | Undocumented or unpermitted work | Fully permitted through City of Issaquah |
Pre-renovation checklist
- [ ] Schedule a structural and mechanical walkthrough with a licensed general contractor.
- [ ] Order lead and asbestos testing for any pre-1978 paint, texture, tile, or duct insulation.
- [ ] Request an electrical panel evaluation to confirm current amp capacity.
- [ ] Inspect the crawl space for vapor barrier condition, standing water, and rim joist rot.
- [ ] Identify significant trees on the lot and confirm critical area status before designing exterior work.
- [ ] Confirm which walls are load bearing and budget for engineering.
- [ ] Reserve a 15 to 20 percent contingency inside the overall budget.
Working through all nine at once is what a whole home remodeling in Issaquah project is for, since the systems, structure, and envelope are all open at the same time. And if you are weighing a deep renovation against starting over, our guide to remodeling versus building custom in King County compares the two paths honestly.